At Legacy Interior Services, we understand that a successful bathroom remodel starts with a well-executed demolition. Properly demolishing an existing bathroom ensures a clean slate for your new installation, preventing costly issues down the road. Follow these essential steps to safely and effectively prepare your bathroom for a stunning transformation.
Step 1: Plan and PrepareBefore swinging a hammer, thorough planning is critical. Assess the scope of your demolition—will you remove tiles, fixtures, or the entire bathroom? Obtain necessary permits if required by local regulations. Create a detailed plan to avoid damaging structural elements or plumbing systems. Gather tools such as a sledgehammer, pry bar, utility knife, safety gear (gloves, goggles, dust mask), and heavy-duty trash bags for debris.Pro Tip: Take photos of the existing bathroom layout, including plumbing and electrical setups, for reference during the rebuild.
Step 2: Turn Off UtilitiesSafety first! Shut off the water supply to the bathroom at the main valve to prevent leaks or flooding. Turn off electricity at the breaker to avoid electrical hazards when removing fixtures or wiring. Double-check that water and power are disconnected before proceeding.
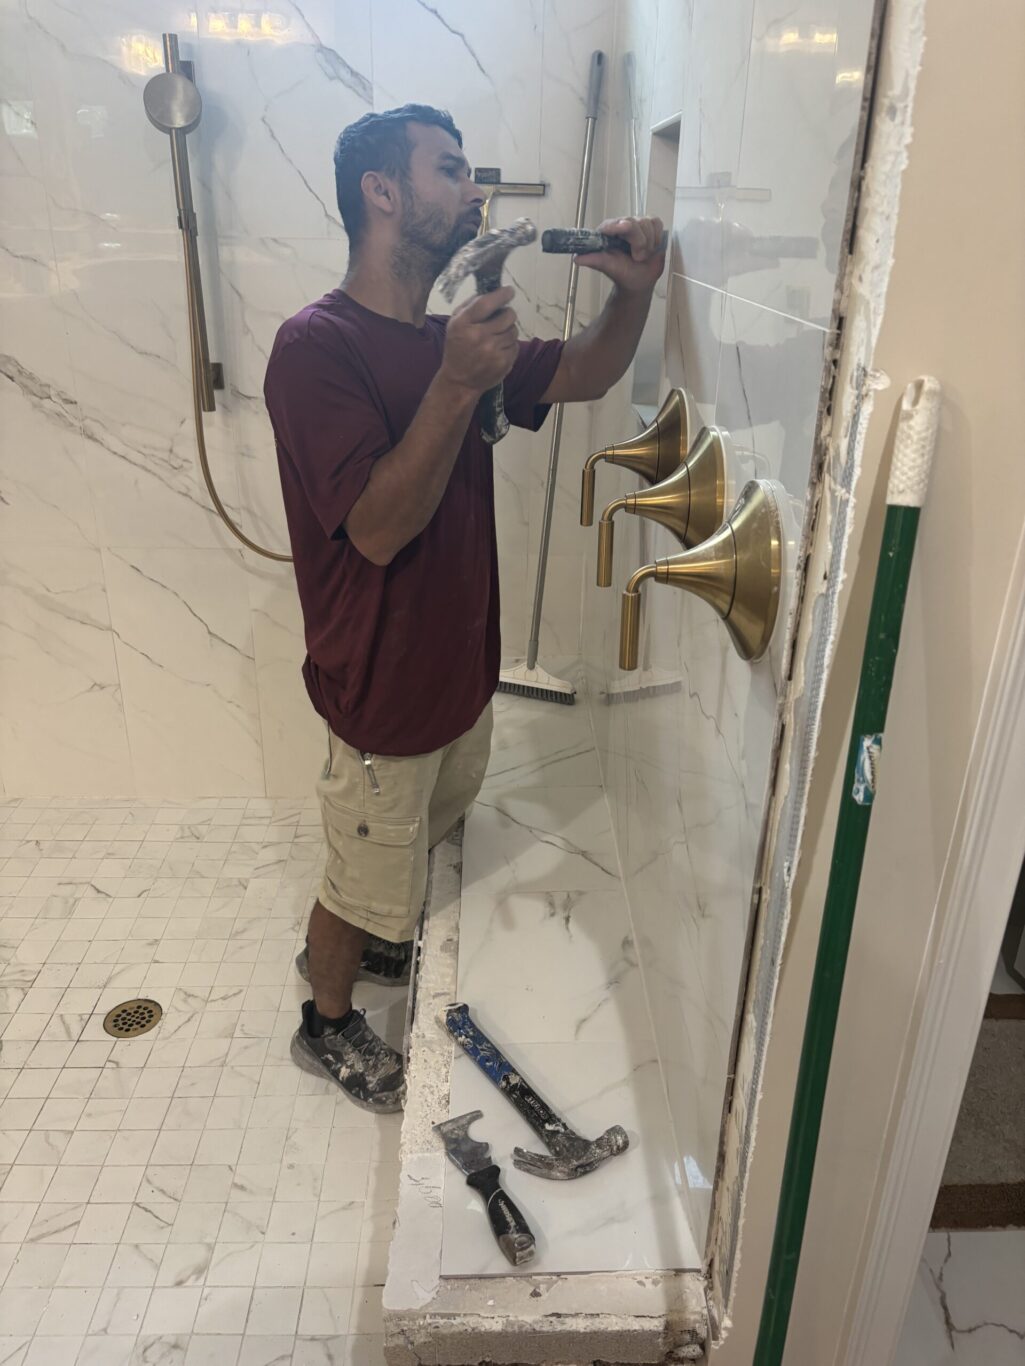
Step 3: Remove Fixtures and AccessoriesStart by removing non-structural items like mirrors, towel racks, and cabinets. Carefully detach the toilet by turning off its water supply, flushing to empty the tank, and unscrewing it from the floor. Remove the sink and vanity by disconnecting plumbing and unscrewing any anchors. For bathtubs or showers, disconnect the drain and remove any surrounding trim or caulk before lifting them out.Pro Tip: Label and save reusable fixtures or donate them to reduce waste.
Step 4: Take Down Wall CoveringsRemove wall materials such as tiles, drywall, or paneling. For tiles, use a chisel and hammer to break them loose, starting from an edge. Cut drywall into manageable sections with a utility knife for easier removal. Be cautious of plumbing or wiring behind walls—use a stud finder or consult your pre-demolition photos to avoid surprises.
Step 5: Remove FlooringPry up old flooring, whether it’s tile, vinyl, or laminate. For tiles, break them into smaller pieces with a sledgehammer for easier removal. Scrape away adhesive or grout residue to ensure a smooth surface for new flooring. Inspect the subfloor for water damage or rot, addressing any issues before proceeding.
Step 6: Clear Debris and Clean UpDemolition creates a mess, so stay organized. Use heavy-duty trash bags or a dumpster for debris disposal, separating recyclable materials when possible. Sweep and vacuum the space to remove dust and small particles, ensuring a clean work area for the installation phase.
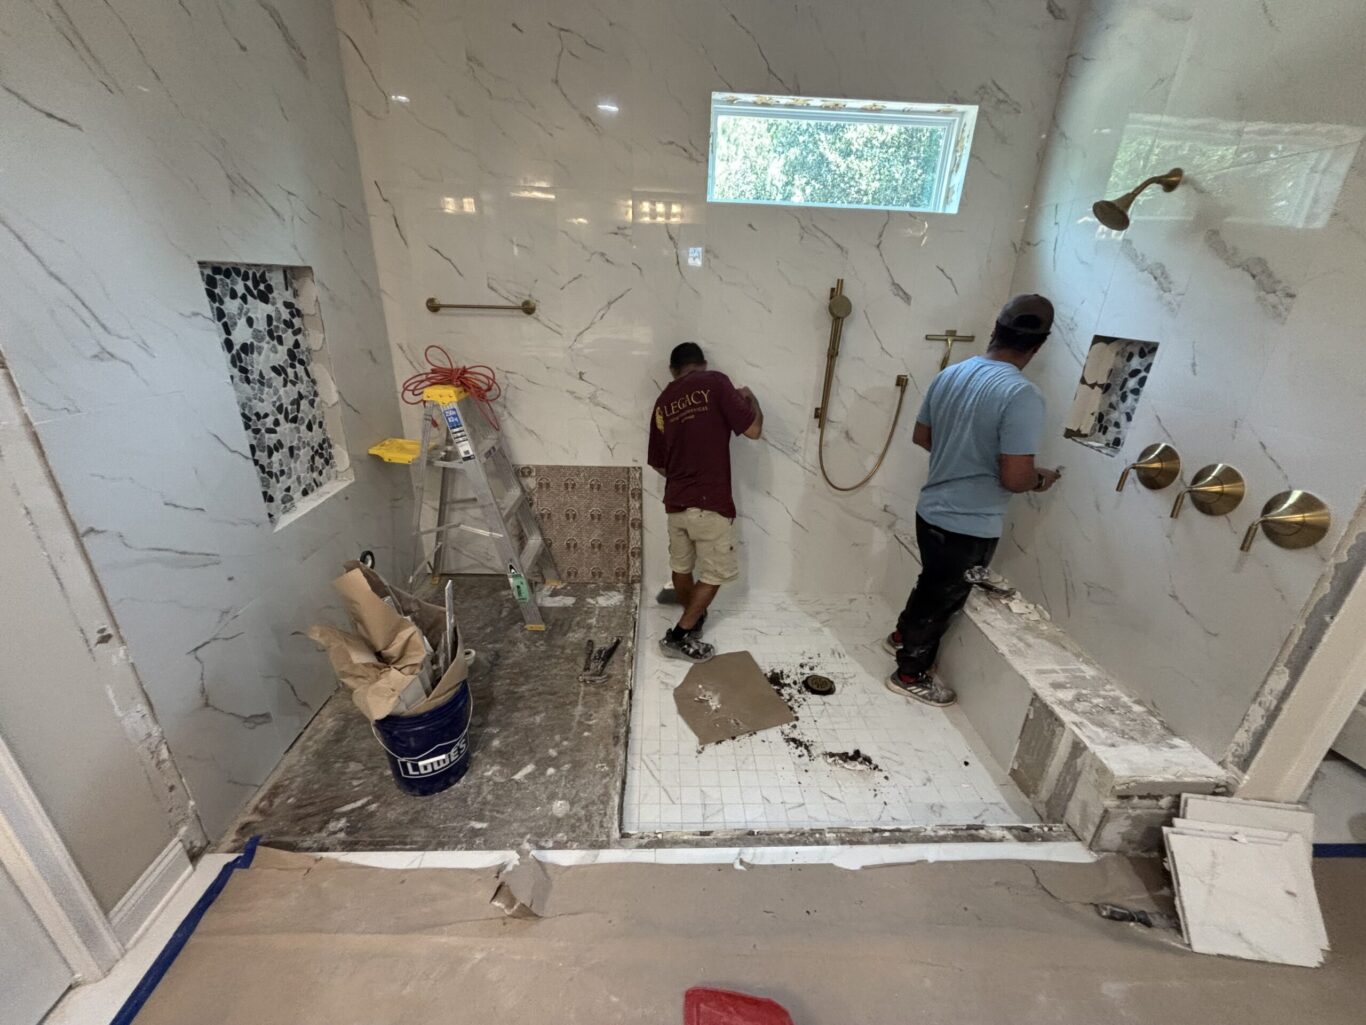
Step 7: Inspect and Prep for InstallationBefore installing your new bathroom, inspect the exposed framework, plumbing, and electrical systems. Look for signs of mold, water damage, or outdated wiring that may need professional attention. Address any repairs to ensure a solid foundation for your new design.
Why Trust Legacy Interior Services?Demolishing a bathroom requires precision, safety, and expertise to avoid costly mistakes. At Legacy Interior Services, our experienced team handles every step of the demolition process with care, ensuring your remodel starts on the right foot. From planning to debris removal, we’re committed to delivering a seamless experience tailored to your vision.
Ready to Transform Your Bathroom?
Contact Legacy Interior Services today to schedule a consultation. Let us handle the demolition and installation, bringing your dream bathroom to life with quality craftsmanship and attention to detail.