Whether you’re in Jacksonville, Gainesville, or anywhere in between, your home’s floors take a beating from daily life—think spills, heavy furniture, or just the wear and tear of time. At Legacy Interior Services, we’re here to help breathe new life into your existing floors without the hassle of a full replacement. We specialize in professional repairs for a variety of surfaces, including:
- Tile Floors: From ceramic to porcelain, we fix cracks, chips, and loose pieces to restore that seamless look.
- Wood Floors: We handle scratches, dents, and warping on hardwood, laminate, or engineered wood.
- Natural Stone Floors: Marble, granite, slate, or travertine—we expertly repair chips, stains, and uneven surfaces to maintain their elegant appeal.
As a local team passionate about quality craftsmanship, we believe in educating our community on simple maintenance tips. Today, let’s dive into a step-by-step guide on how to repair damaged tiles yourself (for minor issues—always consult pros like us for bigger jobs to avoid further damage!). Safety first: Wear gloves, eye protection, and work in a well-ventilated area.Step-by-Step Guide to Repairing Damaged Tiles:
- Assess the Damage: Inspect the tile for cracks, chips, or looseness. Determine if it’s a single tile or if surrounding ones are affected. Gather tools like a chisel, hammer, grout saw, tile adhesive, replacement tile (matching the original), grout, and a sponge.
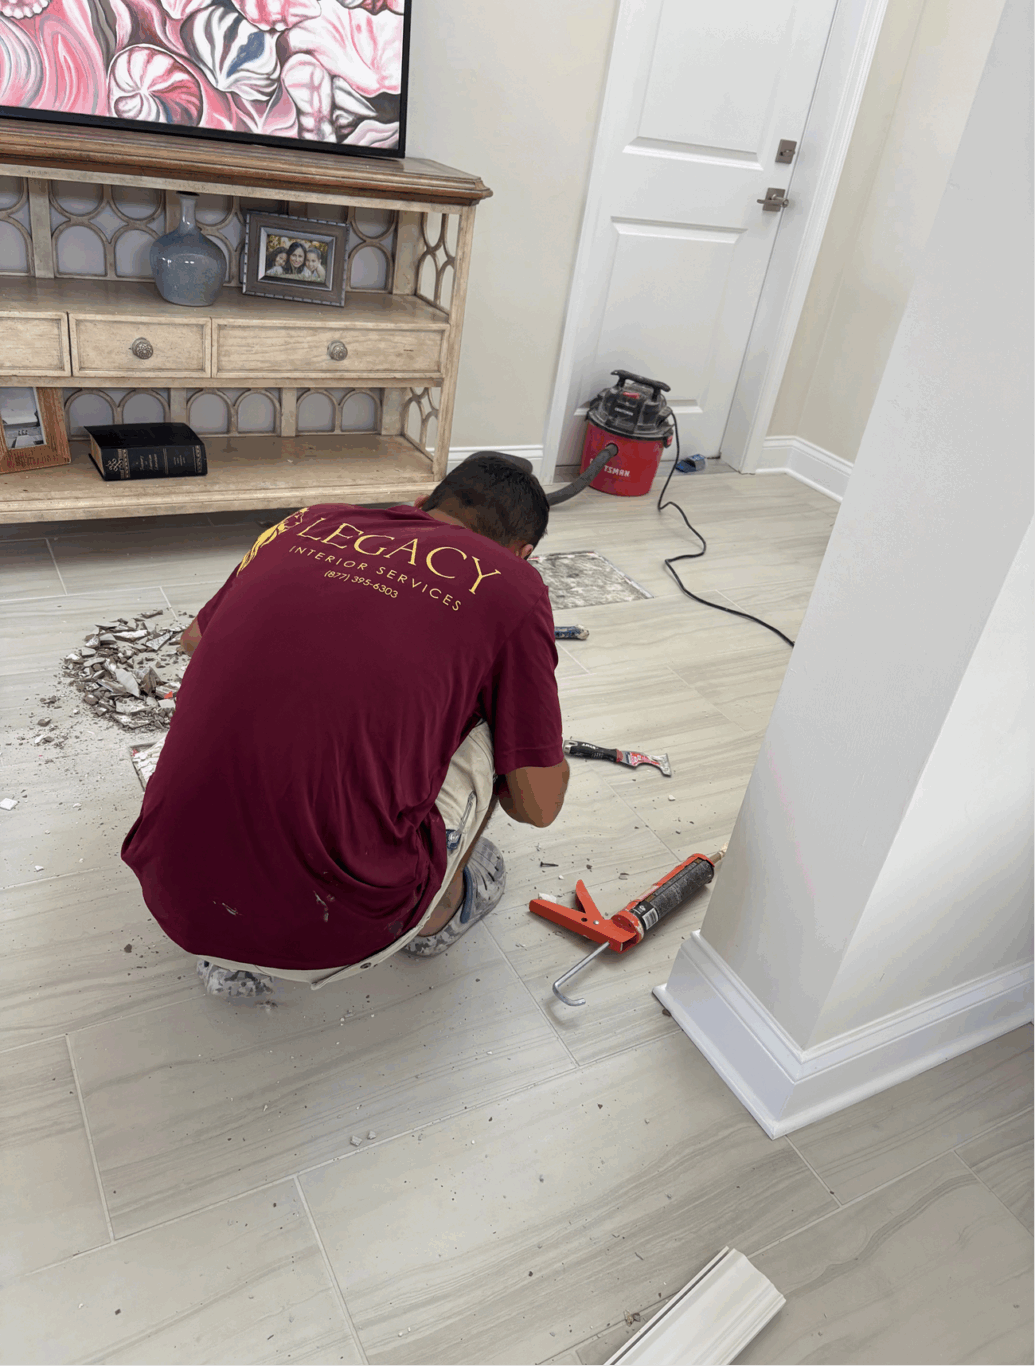
- Remove the Damaged Tile: Use a grout saw to carefully scrape out the grout around the tile. Then, gently chisel under the tile from the edges, tapping with a hammer to loosen it without damaging adjacent tiles. Lift it out and clean any debris.
- Prepare the Surface: Scrape away old adhesive or mortar from the subfloor using a putty knife. Ensure the area is clean, dry, and level—if needed, apply a thin layer of floor patch compound and let it dry completely.
- Apply Adhesive: Spread a thin, even layer of tile adhesive (like thin-set mortar) on the back of the replacement tile or directly on the floor using a notched trowel. Press the new tile firmly into place, ensuring it’s level with surrounding tiles.
- Let It Set: Allow the adhesive to cure as per the product’s instructions (usually 24 hours). Use spacers if needed to maintain even gaps.
- Grout the Tile: Mix grout according to the package, then apply it over the tile and into the joints with a grout float. Wipe away excess with a damp sponge after 10-15 minutes, and let it dry for another 24 hours.
- Seal and Finish: If your tiles are porous (like natural stone), apply a sealant to protect against stains. Buff the area clean and admire your refreshed floor!
Remember, DIY is great for small fixes, but for extensive repairs or to ensure a flawless finish, our experts at Legacy Interior Services are just a call away. We offer free estimates to assess your floors and provide tailored solutions—no obligation!
Contact us today.