Preparing your subfloor is the single most critical step in any flooring installation. Whether you are installing luxurious hardwood, sleek ceramic tile, modern luxury vinyl plank (LVP), or carpet, a flat, uniform surface is what separates a flawless, long-lasting finish from an expensive DIY disaster.
If your subfloor has dips, peaks, or slopes, self-leveling underlayment (SLU) is the industry-standard solution to create a perfectly flat foundation. Here is exactly how to do it right.
Step-by-Step Guide to Leveling a Subfloor
Step 1: Inspect and Clean the Subfloor
Remove all existing flooring, debris, dust, oil, and old adhesive. Vacuum the surface thoroughly. Any leftover dirt or residue will prevent the leveling compound from bonding to the subfloor.
Step 2: Map Out Low and High Spots
Use a long straightedge (at least 6 to 8 feet) or a laser level to locate low spots and high peaks. Mark these areas directly on the floor with a pencil or marker so you know exactly where the compound needs to go.
Step 3: Seal and Plug Gaps
Self-leveling compound has a water-like consistency when poured. Use a silicone caulk or a rapid-setting patch to seal all joints, gaps around pipes, and the perimeter edge of the wall. If you don’t, the liquid leveler will seep through the cracks into the ceiling or crawl space below.
Step 4: Apply the Floor Primer
Never skip this step! Apply the manufacturer-recommended primer using a roller or soft broom. The primer seals the porous subfloor, prevents the subfloor from sucking the water out of the leveler too quickly, and ensures a rock-solid adhesive bond. Let it dry until it is tacky or completely dry (per instructions).
Step 5: Mix the Self-Leveling Compound
This requires two people: one to mix and one to pour. Mix the powder into precisely measured water using a heavy-duty drill and a mixing paddle. Mix for the exact time specified by the manufacturer to avoid lumps or over-activating the mix.
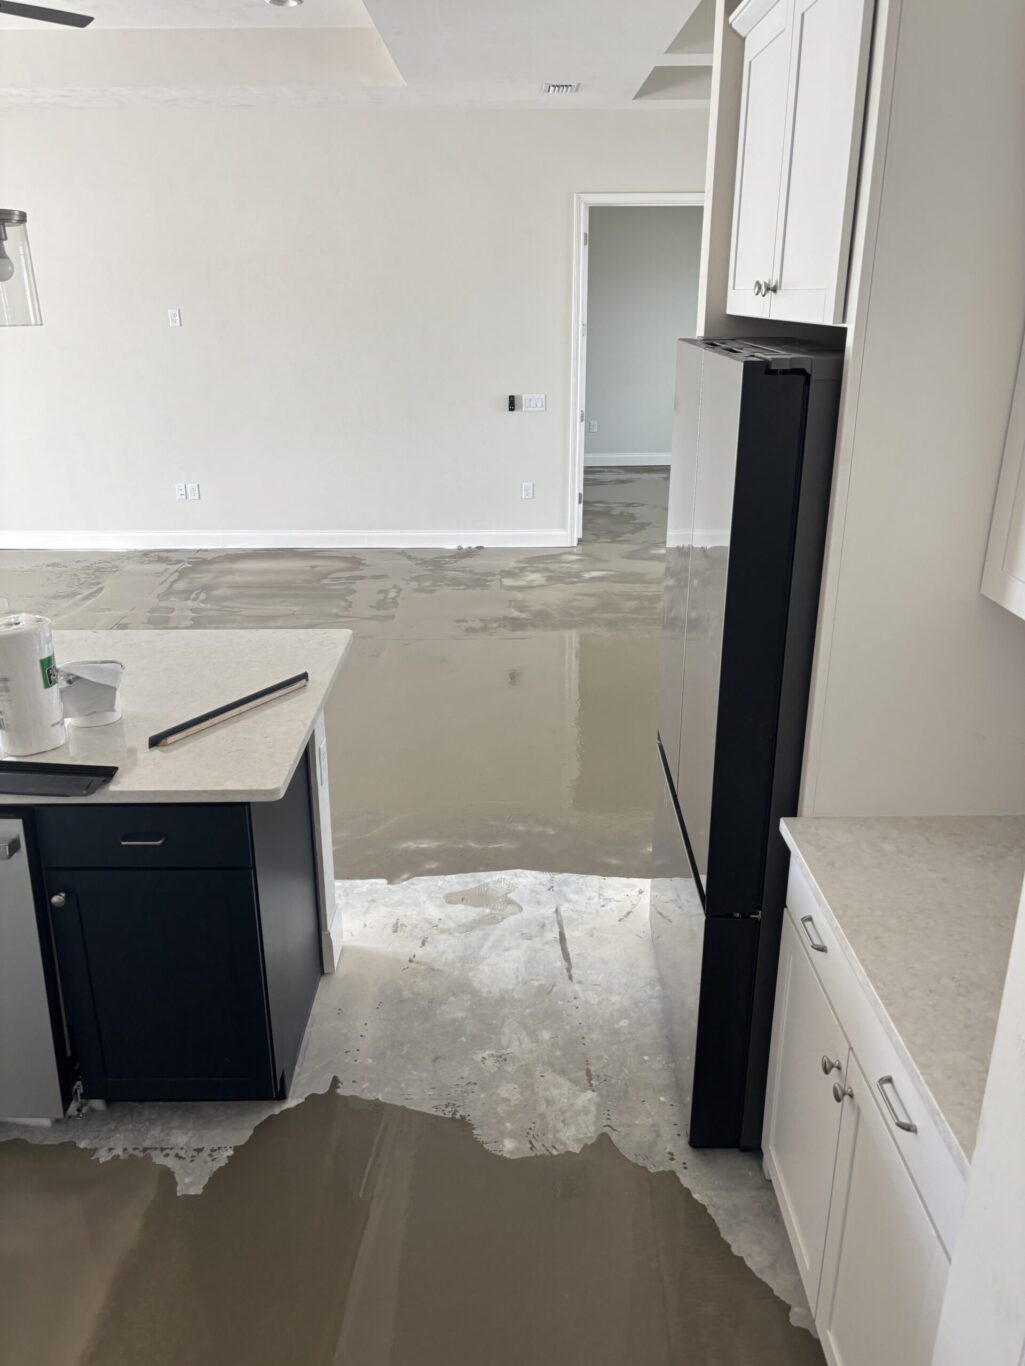
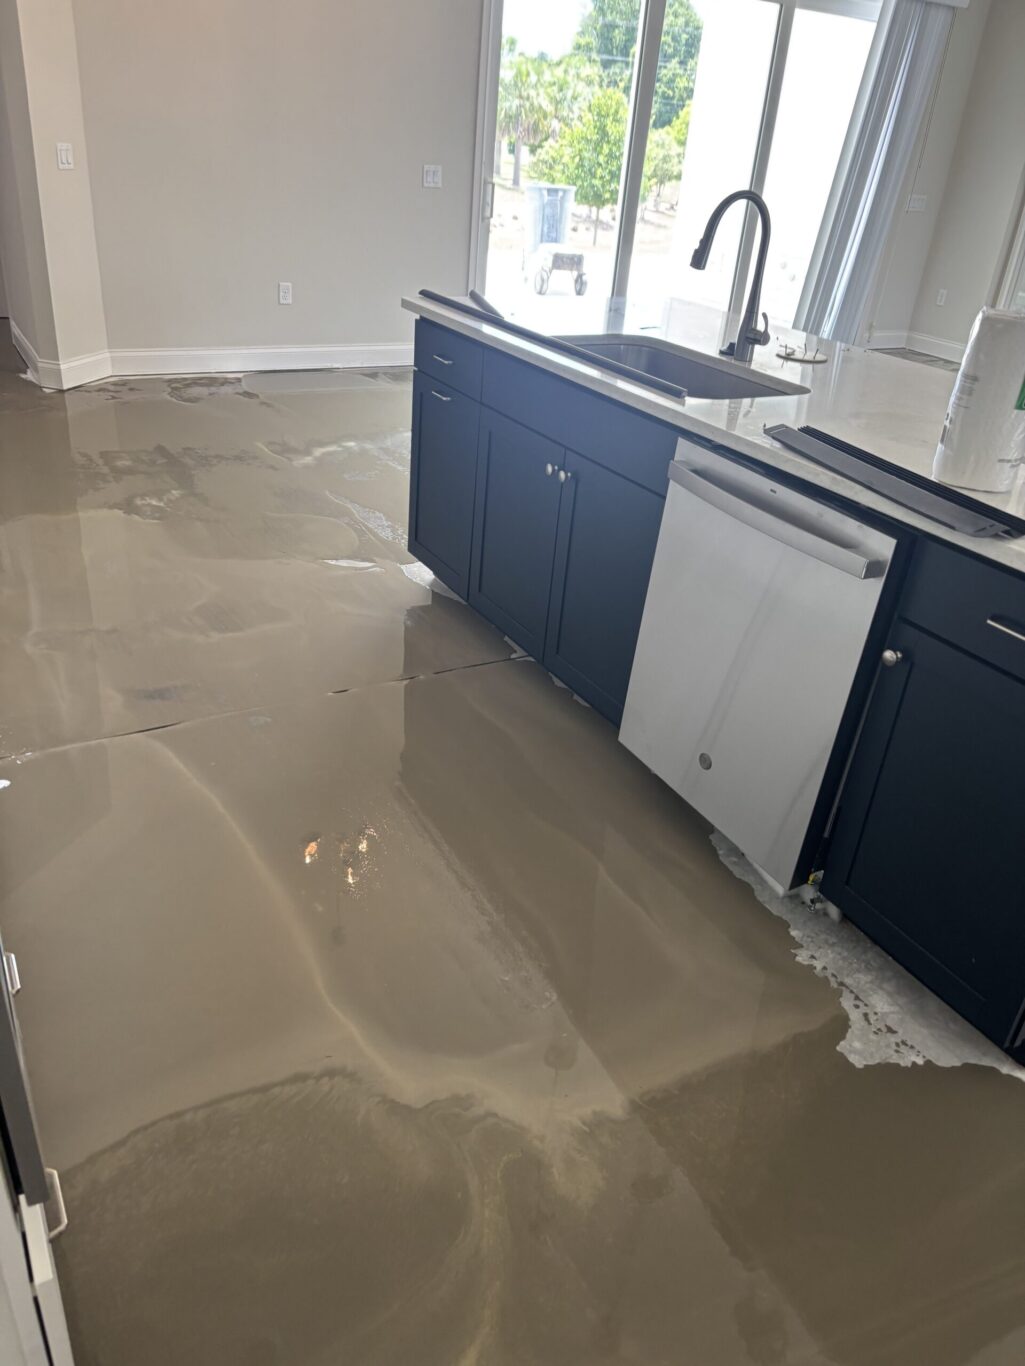
Step 6: Pour and Help it Flow
Start pouring from the furthest corner of the room, working your way toward the exit. While the product is “self-leveling,” you need to guide it into place using a gauge rake, a flat trowel, or a spiked roller to break surface tension and smoothly blend the edges.
Step 7: Let It Cure
Keep foot traffic off the floor while it sets. Depending on the rapid-setting formulation used, you can walk on the floor in 2 to 4 hours, and begin installing tile or wood flooring within 16 to 24 hours.
9 Reasons Why You Should Never Cut Corners on Floor Leveling
Skipping or rushing the leveling phase to save a few bucks upfront is a recipe for buyer’s remorse. Here is why using a premium self-leveling product is non-negotiable:
- 1. Prevents Cracked Tiles and Grout: Tile and stone have zero flexibility. If there is a void underneath a tile due to an uneven floor, stepping on it will instantly crack the tile or break the grout lines.
- 2. Eliminates Core Lock Failure in Floating Floors: Modern LVP and engineered wood use click-lock systems. An uneven subfloor causes the planks to flex when walked on, which eventually snaps the delicate locking mechanisms apart.
- 3. Stops Hollow Sounds and “Trampoline” Bouncing: Walking over a dip in a poorly prepped hardwood floor creates annoying hollow noises and a bouncy, unstable feel underfoot.
- 4. Eradicates Floor Squeaks: Wood flooring installed over a sagging or uneven joist system will rub against fasteners as it flexes, leading to persistent, aggravating squeaks.
- 5. Saves Money on Adhesive and Mortar: Trying to fix a bumpy floor by “back-buttering” tiles with extra-thick mortar wastes an immense amount of expensive thin-set adhesive.
- 6. Guarantees Appliance and Cabinet Alignment: Kitchen cabinets and heavy appliances like refrigerators require a flat surface to sit flush. Leveling now prevents crooked lines later.
- 7. Avoids Bumping/Tripping Hazards: Transitions between rooms look seamless when the subfloor is level. Skipping this step leaves raised edges that ruin aesthetic sightlines and create trip hazards.
- 8. Protects Your Manufacturer Warranty: Almost every major flooring manufacturer explicitly states that their warranty is voided if the flooring is installed over a subfloor that deviates from strict flatness tolerances.
- 9. Maximizes the Lifespan of Your Investment: A properly leveled floor distributes weight evenly, ensuring your beautiful new hardwood or tile lasts for decades rather than failing in a matter of months.
The Top 3 Floor Self-Leveling Products in the Industry
When it comes to flat floors, professional installers trust these top-performing brands for consistency, strength, and ease of use:
| Product Name | Best For | Key Features |
|---|---|---|
| CustomTech LevelQuik RS (Rapid Setting) | High-Traffic & Quick Turnarounds | Premium calcium aluminate formula that seeks its own level effortlessly. Cures to 4,300 PSI and accepts ceramic tile installation in just 4 hours. |
| Laticrete NXT Level | Diverse Substrates & Fire-Ratings | High-strength, cement-based underlayment. UL-certified for fire resistance up to 2 hours, making it exceptional for residential and commercial plywood or concrete bases. |
| SikaLevel Self-Leveling Underlayment | Smooth Blending & Versatility | High-flow, polymer-modified formula that reduces dust and featheredges beautifully. Compatible with radiant in-floor heating systems. |
🛠️ Get Your Free Estimate Today!
Subfloor preparation can be tricky, and self-leveling compounds dry incredibly fast—leaving zero room for error. Let the professionals at Legacy Interior Services do the heavy lifting for you. We bring the tools, the precision, and the expertise to guarantee a flawlessly flat foundation.
Contact Legacy Interior Services today for your FREE estimate!