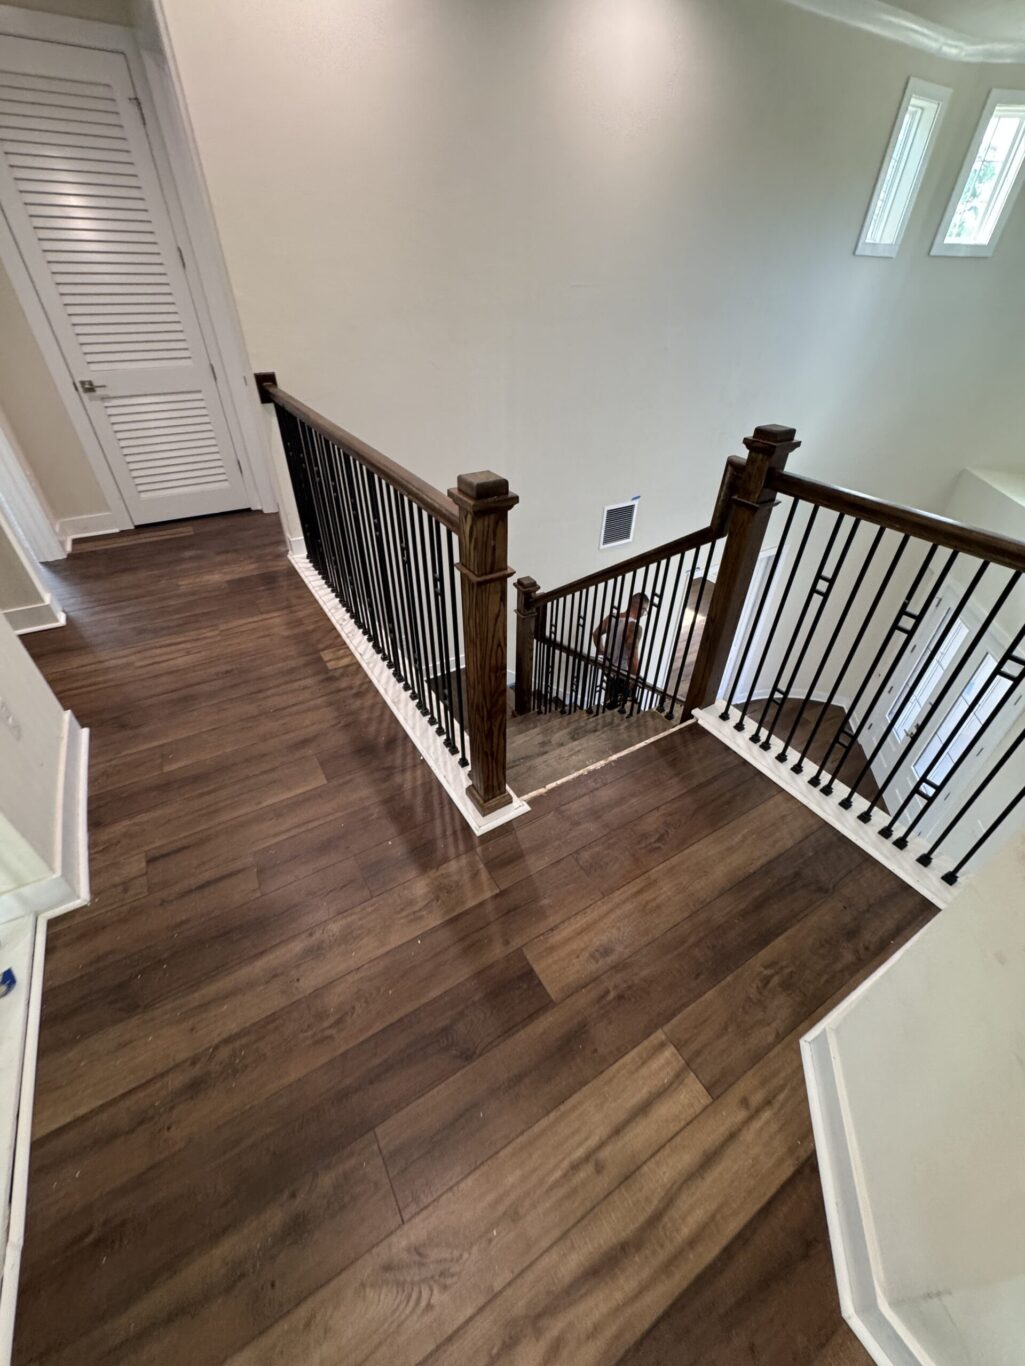
At Legacy Interior Services, we specialize in transforming homes with high-quality wood flooring installations. One of the trickiest aspects of installing wood flooring is ensuring a smooth, safe, and aesthetically pleasing connection to stair treads and landing platforms. Done incorrectly, this can lead to gaps, uneven surfaces, or safety hazards. In this educational guide, we’ll walk you through the correct methods based on industry best practices, helping you understand the process whether you’re a DIY enthusiast or planning to hire professionals like our team in North Florida.
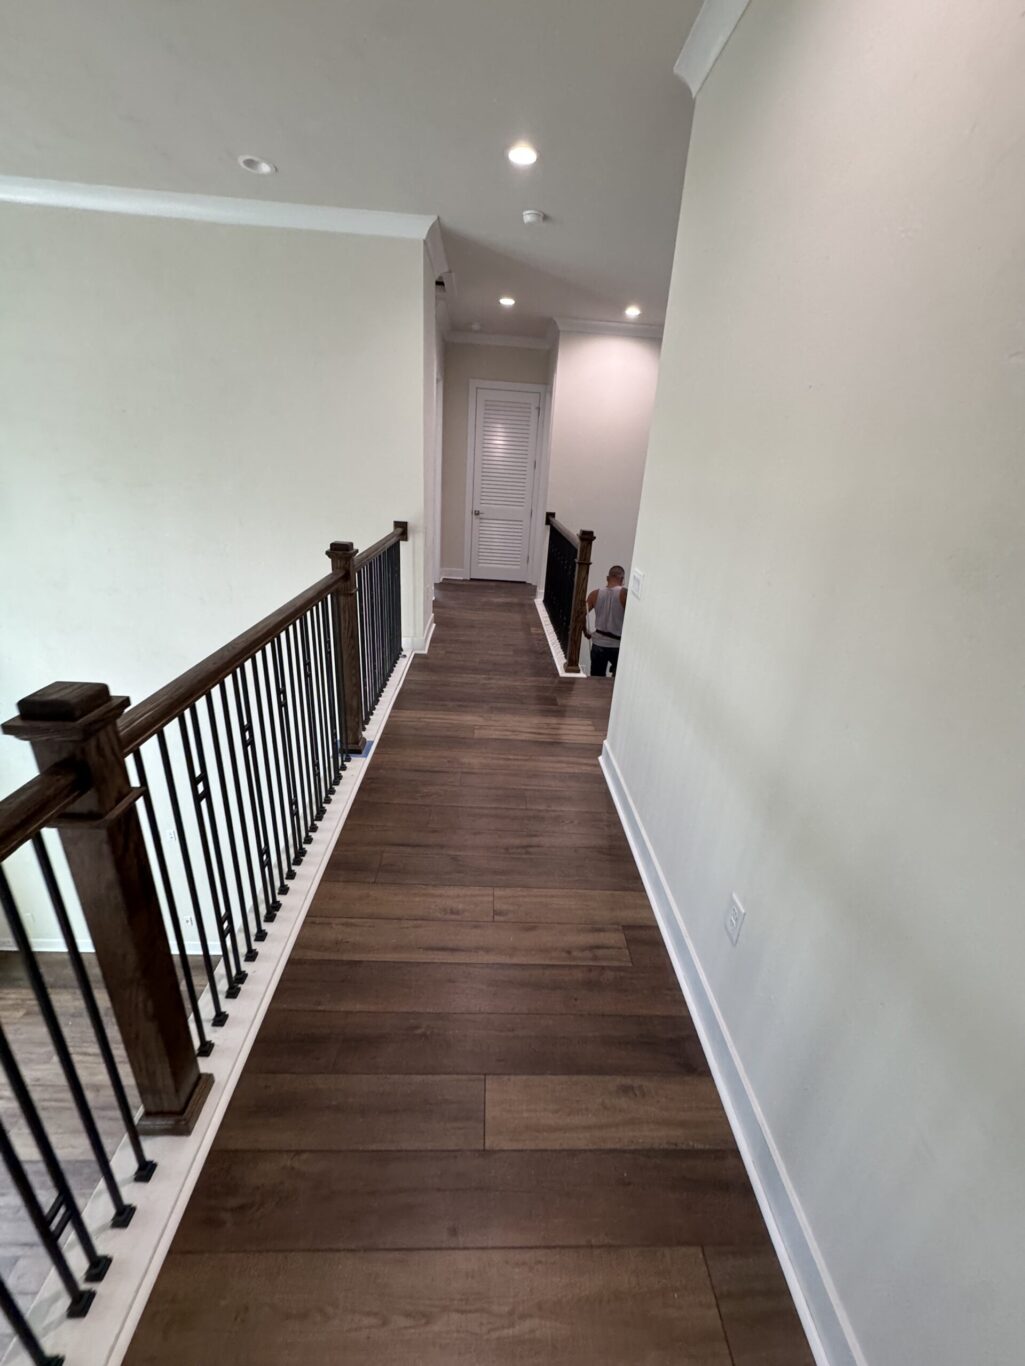
Why Proper Installation MattersConnecting wood flooring to stairs isn’t just about looks—it’s about durability and safety. Improper transitions can cause tripping, wear out faster, or even void warranties. By following these steps, you’ll achieve a seamless flow that enhances your home’s value and elegance. Always consult local building codes, as requirements may vary.Tools and Materials You’ll NeedBefore starting, gather these essentials:
- Wood flooring planks (matching or complementary to your stairs)
- Stair nosing or landing tread (thicker pieces for overhangs, typically 1-1/4″ to 2″ thick)
- Measuring tape, circular saw, and miter saw
- Nail gun or hammer with finish nails
- Wood glue and construction adhesive
- Level, shims, and sandpaper
- Safety gear: gloves, goggles, and knee pads
Step-by-Step Guide to Installation1. Prepare the Subfloor and Measure Accurately
- Start by inspecting the subfloor on the landing and approaching areas. It must be clean, dry, level, and free of debris. Use a level to check for dips or humps; shim or sand as needed to ensure evenness.
- Measure the landing platform and stair treads. Note the height difference between the flooring and treads—wood flooring is often 3/4″ thick, while treads may vary. Aim for a flush transition to avoid trips.
- Decide on flooring direction: Run planks parallel to the stair treads for easier alignment and a natural flow. If perpendicular, you’ll need precise cuts.
2. Install the Landing Tread or Nosing
- The landing tread acts as a transition piece at the edge where the floor meets the stair drop. Choose a landing tread that matches your wood species and finish.
- Cut the landing tread to fit the width of the landing platform, ensuring a 1-1/4″ to 2″ overhang over the first riser for safety and style.
- Apply construction adhesive to the back and secure with finish nails or screws into the subfloor. If the landing is plywood, shim underneath to match the flooring height.
- For stair treads: If refinishing or installing new treads, ensure they align with the landing height. Use tongue-and-groove connections if extending flooring onto treads.
3. Lay the Wood Flooring Approaching the Stairs
- Begin laying flooring from the opposite end of the room, working toward the stairs. Use tongue-and-groove planks for a secure fit.
- As you approach the landing, cut the last row of planks to fit snugly against the landing tread. Leave a 1/4″ expansion gap around edges, filled with baseboard or quarter-round molding later.
- Nail or glue the planks down, staggering seams for stability. If using floating floors, ensure the transition piece locks in properly.
4. Connect to Stair Treads and Finalize Transitions
- For direct connections to treads: Install stair nosing on each tread’s edge, overlapping the riser below. This creates a bullnose for safety.
- On the landing platform, extend the flooring pattern onto the platform if it’s large enough, butting up against the landing tread.
- Sand any uneven spots and apply matching finish or stain for a cohesive look. Test for squeaks and reinforce as needed.
5. Finishing Touches and Safety Checks
- Caulk gaps if necessary, but avoid overfilling to allow wood expansion.
- Inspect for level surfaces and secure fastenings. Add non-slip strips on treads if in high-traffic areas.
- Clean up and let the adhesive cure for 24-48 hours before heavy use.
Common Mistakes to Avoid
- Ignoring height differences: Always shim or adjust to prevent lips or drops.
- Poor alignment: Misaligned planks can create weak points.
- Skipping expansion gaps: Wood expands with humidity, so leave room.
By following these steps, your wood flooring will integrate beautifully with your stairs, creating a polished, professional result.Ready to elevate your home? At Legacy Interior Services, we offer free estimates throughout all of North Florida. Contact us today at (904) 502-8737 or visit our website to schedule yours and let our experts handle the installation with precision and care.What Our Customers Are SayingHere are three positive reviews from satisfied clients:
- Josh D., Jacksonville, FL (Reviewed on Google, June 2025): “Legacy Interior Services did an amazing job installing our hardwood floors and connecting them to our staircase. The transition is seamless, and the team was professional from start to finish. Highly recommend!”
- Sarah M., St. Augustine, FL (Reviewed on Yelp, July 2025): “We couldn’t be happier with our new wood flooring. The way they handled the stair treads and landing made our home look brand new. Great communication and quality work!”
- Mike R., Gainesville, FL (Reviewed on Facebook, August 2025): “Excellent service! The free estimate was spot on, and the installation around our stairs was flawless. Legacy’s attention to detail is top-notch.”