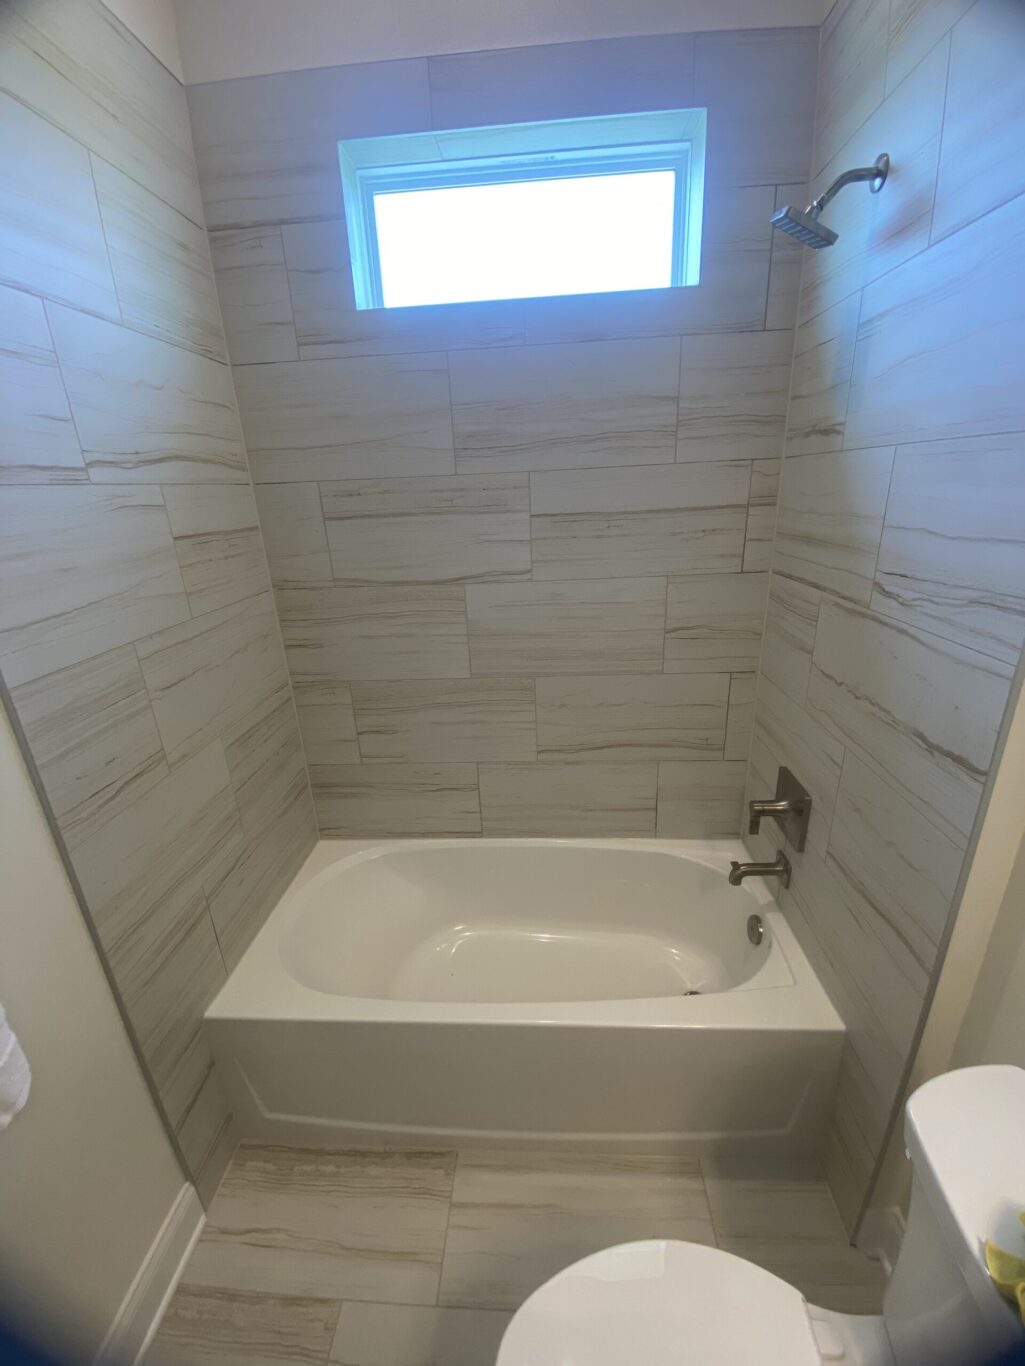
Transforming your home starts from the ground up—and with the right design choices, your walls and floors can become the focal point of any room. Whether you are planning a complete bathroom overhaul or refreshing a single space, understanding the nuances of professional tile installation, custom built-ins, and layout patterns makes all the difference in achieving a flawless finish.
Step-by-Step: How to Install Floor Tile Like a Pro
Achieving a high-end, durable floor finish requires patience and precision. Skipping steps or rushing prep work leads to cracked grout and uneven tiles down the line.
- Surface Preparation: Ensure your subfloor is completely clean, dry, level, and structurally sound. For concrete, fill any cracks or low spots. For wood subfloors, install a cement backer board or uncoupling membrane to prevent shifting and cracking.
- Find Your Centerlines: Measure the room to find the center point of each wall, then snap chalk lines that intersect in the exact center of the room. This ensures your cut tiles are balanced evenly along the edges rather than leaving a narrow sliver on one side.
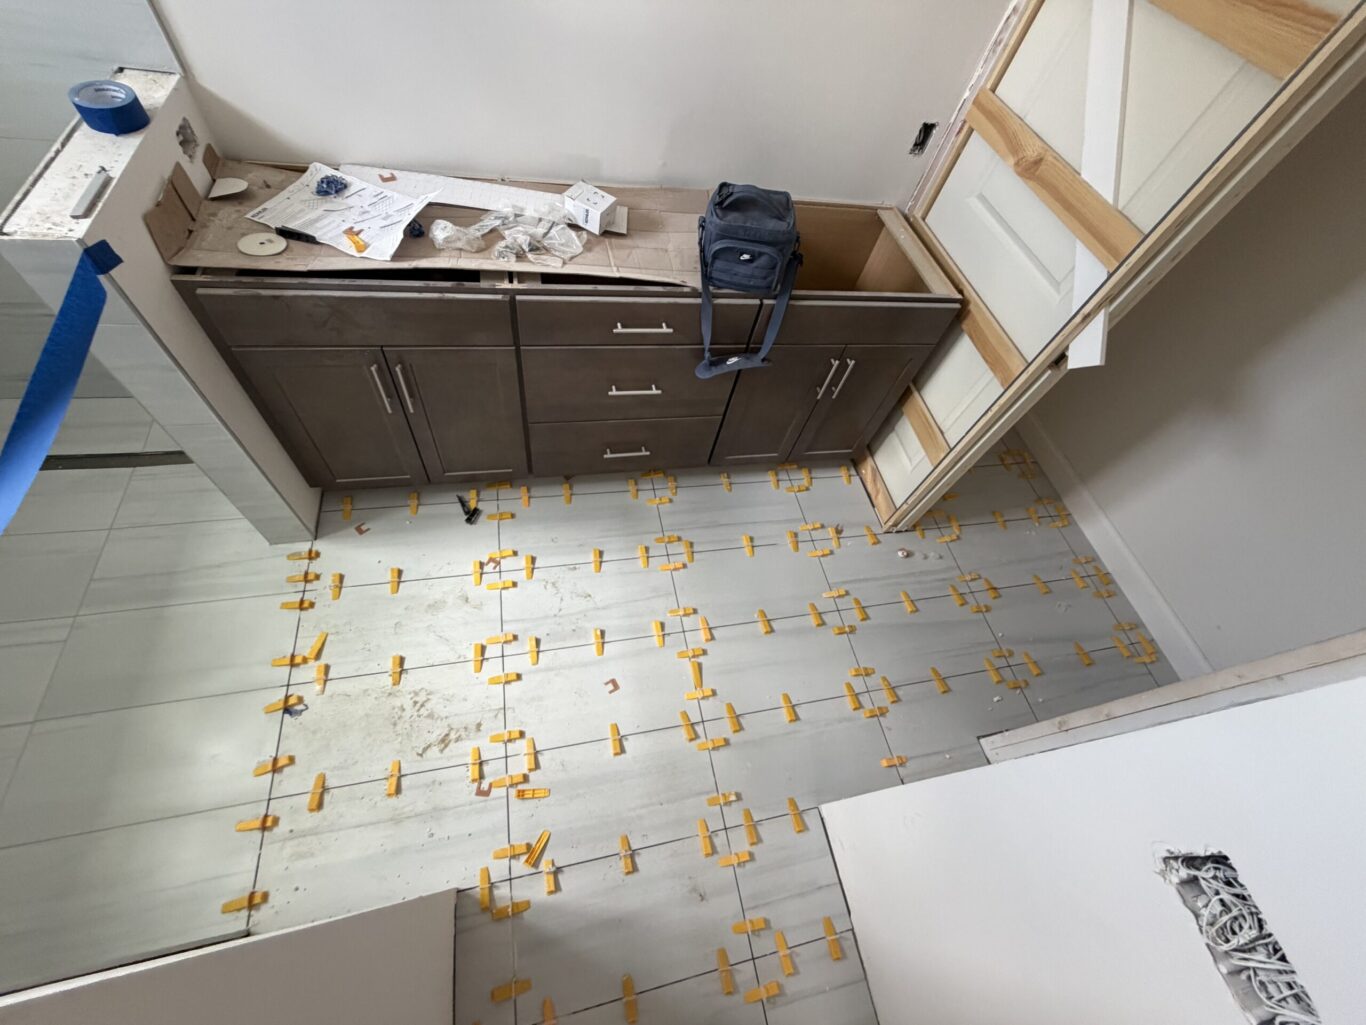
- Dry Layout: Lay out a few rows of tile along your chalk lines without mortar (use tile spacers). This lets you check your pattern, verify cuts around doorways and fixtures, and avoid awkward cuts.
- Mix and Apply Mortar: Mix thin-set mortar to a peanut-butter consistency. Using a notched trowel suited for your tile size, comb the mortar in straight lines across the floor. Back-butter large-format tiles for maximum adhesion.
- Set the Tile: Press each tile firmly into the wet mortar with a slight twisting motion perpendicular to the trowel ridges. Insert tile spacers or a leveling system (like clips and wedges) to maintain uniform grout lines and prevent lippage.
- Cut Perimeter Tiles: Use a wet tile saw to measure and cut the perimeter pieces, leaving a small expansion gap near the walls.
- Grout and Seal: Let the installation cure for at least 24 hours. Remove spacers, apply your choice of sanded or unsanded grout, wipe away excess haze with a damp sponge, and seal the grout lines once fully cured to protect against moisture and stains.
Elevating Your Bathroom: Shower Shelves and Inset Niches
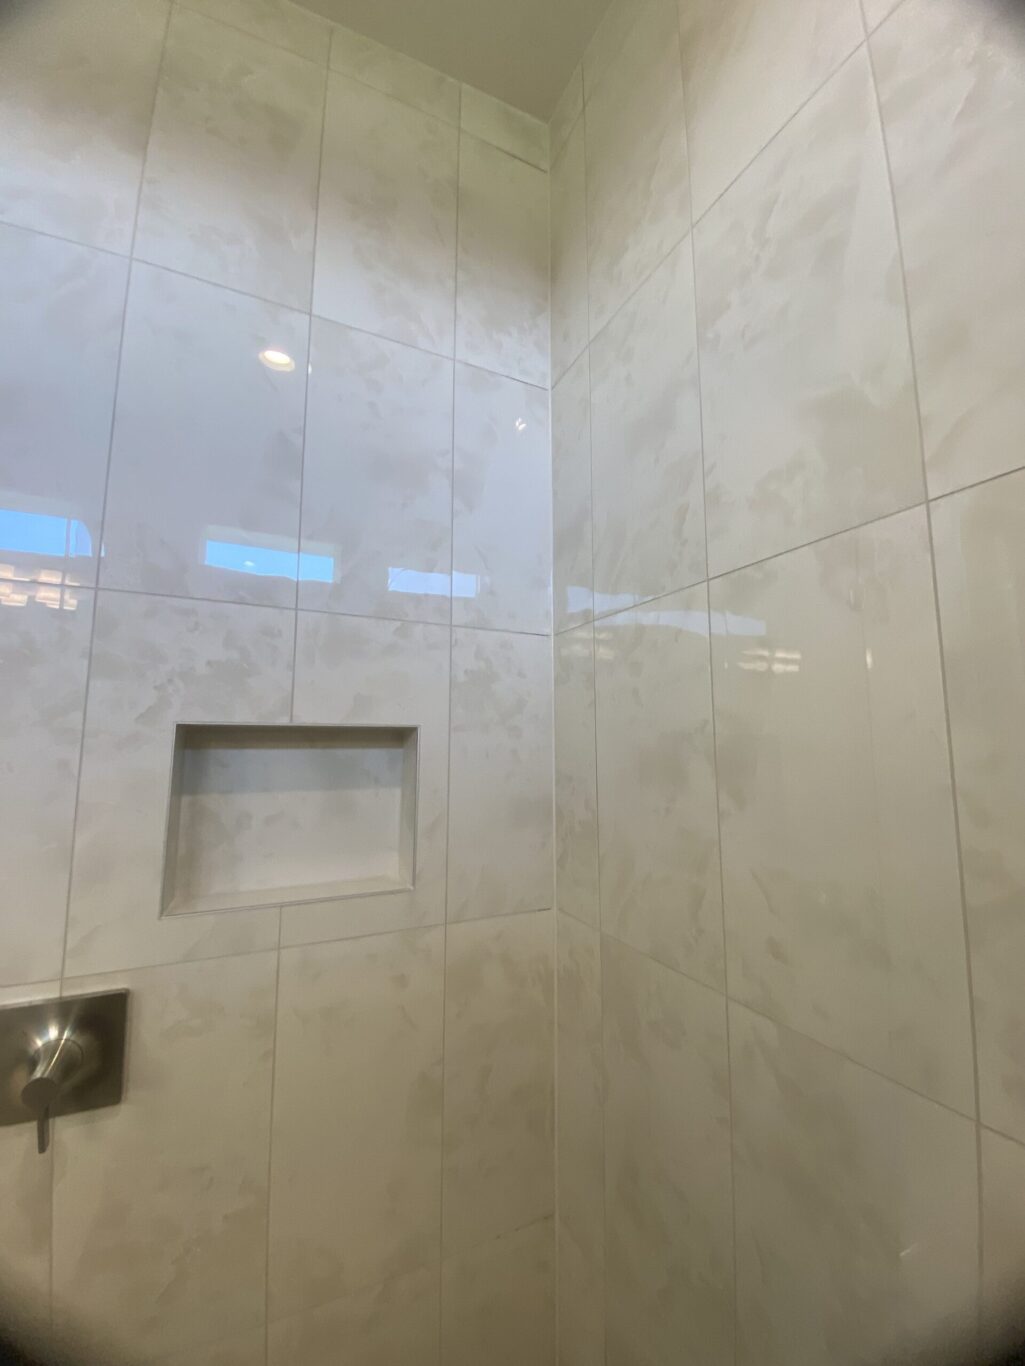
Built-in shower storage is one of the most functional and visually striking upgrades you can make to a wet area. Ditch cluttered caddy racks for sleek, custom architectural details.
- Recessed Wall Niches: Insetting a shelf directly into the shower wall maximizes space without sacrificing elbow room. Framed with matching tile or accented with contrasting mosaic tile, a shower niche looks custom-designed and keeps everyday products off the floor.
- Floating Corner Shelves: Heavy stone or matching quartz corner shelves anchored into the tilework provide minimalist storage that blends seamlessly into modern and traditional bathrooms alike.
- Continuous Accent Bands: Running a contrasting row of tile or a decorative mosaic band through the center of your shower walls—and wrapping it right through the back of your shower niche—ties the entire room’s design together.
5 Popular Tile Layout Designs to Consider
The way your tile is arranged dramatically alters the perceived size, shape, and style of a room.
- Straight Lay / Grid Pattern: Clean, classic, and timeless. Tiles are aligned in a straight grid, making it ideal for minimalist spaces or large-format tiles where you want the material itself to take center stage.
- Classic Running Bond (Staggered/Brick): Each row is offset by a half or third of the tile length. This traditional layout minimizes the appearance of uneven subfloors and adds understated movement to kitchens, bathrooms, and entryways.
- Herringbone Pattern: Laid at 45-degree angles to form a continuous V-shape, herringbone adds high-end architectural interest and makes narrow hallways or compact bathrooms feel wider and more dynamic.
- Chevron Pattern: Similar to herringbone, but with the ends of the tiles cut at an angle to create a sharp, continuous zigzag pattern. It delivers an unmistakably chic, modern look.
- Diagonal (Diamond) Lay: Setting square tiles on a 45-degree angle relative to the walls tricks the eye, making small or awkwardly shaped rooms feel significantly larger and more expansive.
Ready to Transform Your Space?
Are you envisioning a stunning new tile floor, a custom walk-in shower with built-in niches, or a complete interior transformation? Expert craftsmanship ensures your investment looks incredible and stands up to daily wear for decades to come.
Contact Legacy Interior Services today to schedule your free consultation and quote!