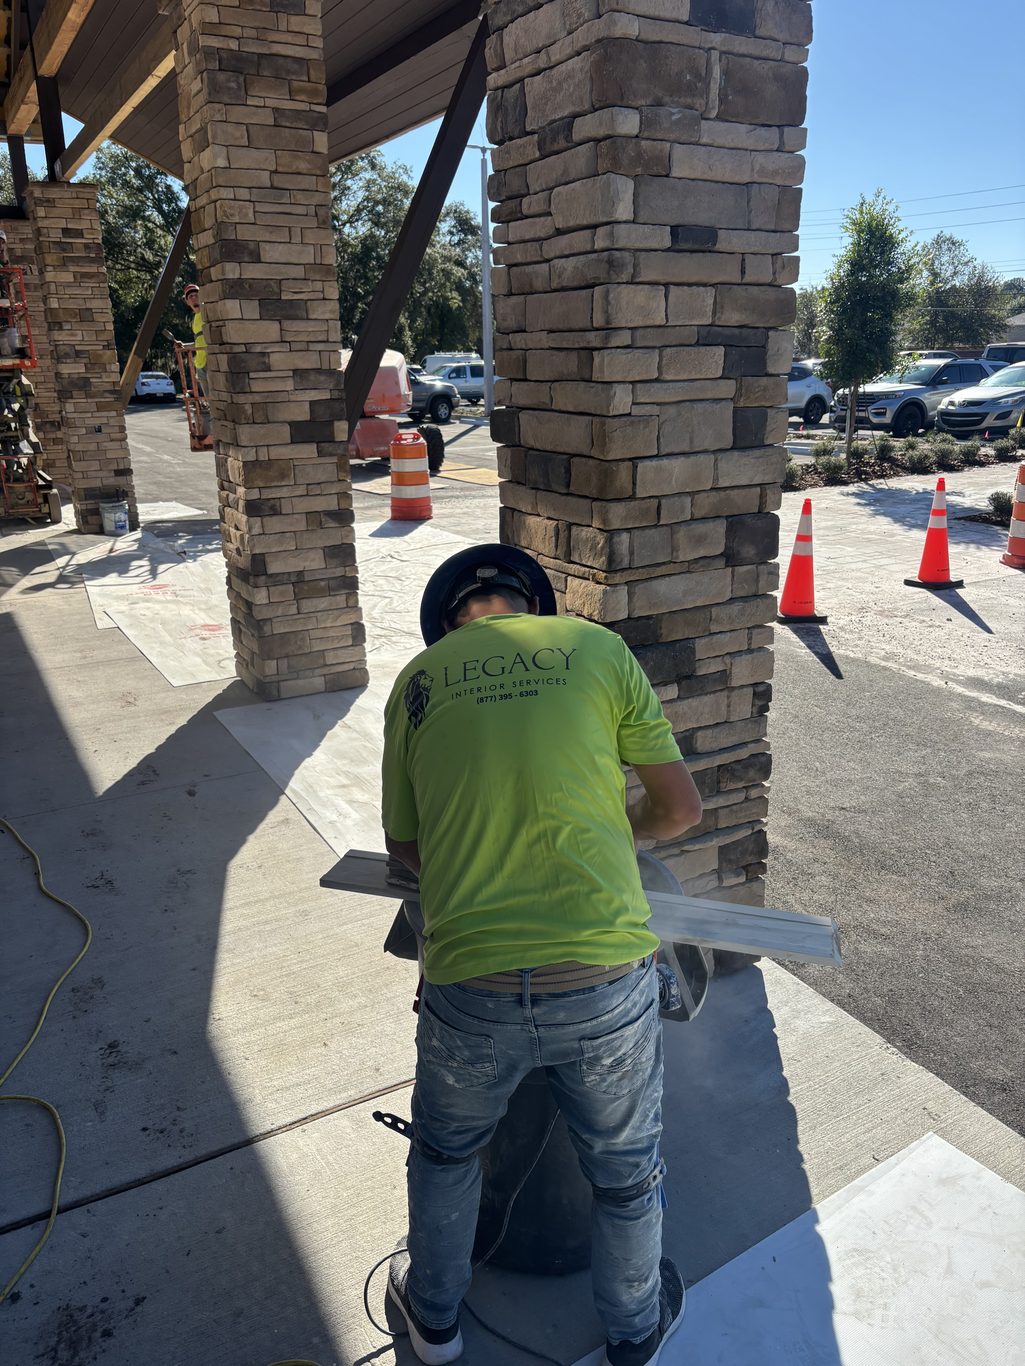
Transforming your outdoor living space with natural or manufactured stone adds timeless elegance, durability, and significant value to your property. Whether you are building a stunning patio, upgrading a walkway, or adding a decorative stone facade, proper installation is key to ensuring it withstands the elements.
At Legacy Interior Services, we service all of North Florida, bringing expert craftsmanship to every project across the region.
Step-by-Step Guide: How to Install Outdoor Stone
1. Planning and Surface Preparation
- Design & Layout: Measure your space and determine the pattern or layout (dry-stack, staggered, or geometric) you want to achieve.
- Excavation & Grading: Excavate the area to the proper depth depending on your project type (typically 4 to 6 inches for patios/walkways). Ensure the grade slopes slightly away from structures for proper drainage.
- Sub-base Installation: Lay a compacted layer of crushed gravel or road base, followed by a layer of sand or a concrete sub-base, depending on whether you are using dry-lay pavers or mortar-set stone veneer.
2. Mixing and Applying Mortar (For Mortar-Set Applications)
- Mix exterior-grade mortar or thin-set according to the manufacturer’s instructions to a peanut-butter-like consistency.
- Apply a scratch coat or apply mortar directly to the back of the stone and the prepared substrate, ensuring complete coverage to prevent air pockets.
3. Laying the Stone
- Start from Corners/Edges: Begin placing stones from the bottom up or from the corners inward.
- Press and Twist: Firmly press each stone into the mortar bed with a slight twisting motion to squeeze out excess adhesive and ensure a strong bond.
- Level and Adjust: Use a rubber mallet and spirit level to ensure the stones are flush and even. Maintain consistent spacing if you plan to use mortar joints.
4. Cutting and Fitting
- Use a wet saw or angle grinder fitted with a diamond masonry blade to cut stones for curves, edges, and tight corners.
5. Joint Filling and Sealing
- Once the mortar has set (usually 24–48 hours), fill the joints using mortar or polymeric sand, depending on your installation method.
- Clean any excess residue from the stone surface promptly. Apply a breathable, exterior-grade stone sealer to protect against moisture, stains, and North Florida’s intense sun and humidity.
Cost Breakdown: What to Expect
The cost of installing outdoor stone varies based on materials, labor, and the complexity of the project. Here is a general breakdown:
- Materials:
- Manufactured Stone / Pavers: $5 to $12 per square foot.
- Natural Stone (Flagstone, Slate, Travertine): $15 to $30+ per square foot.
- Base Materials, Mortar, and Sand: $1.50 to $3.50 per square foot.
- Professional Installation Labor: $10 to $25+ per square foot, depending on site prep, grading, and intricate detail work.
- Total Estimated Project Cost: Typically ranges from $15 to $55 per square foot installed, depending on the scope and material selection.
Frequently Asked Questions (FAQ)
Q: How long does outdoor stone installation take?
A: Most residential projects, such as a medium-sized patio or walkway, take between 3 to 7 days from site preparation to final sealing, depending on weather conditions and project complexity.
Q: Is natural stone or manufactured stone better for North Florida’s climate?
A: Both perform exceptionally well when properly installed and sealed. Natural stone offers unmatched longevity and a unique look, while high-quality manufactured stone provides consistent sizing and often a lower price point.
Q: Do I really need to seal outdoor stone?
A: Yes. Sealing protects the stone from UV fading, algae growth, moisture penetration, and staining—especially important in humid climates.
A Note for the Management Team
As we continue to grow and serve homeowners across North Florida, let’s remain deeply committed to the core values that built our reputation: uncompromised craftsmanship, transparent communication, and meticulous attention to detail on every job site. Let’s keep raising the standard for quality living spaces, one project at a time.