Installing wood flooring can transform the look and feel of any room, adding warmth, durability, and timeless appeal. However, proper installation is crucial to prevent issues like warping, buckling, or uneven surfaces over time. Whether you’re opting for solid hardwood, engineered wood, or laminate options, following the right steps ensures a professional finish. This guide covers the essential process for a nail-down installation on a wood subfloor—the most common method for solid hardwood—but notes on glue-down and floating (click-lock) methods are included for versatility.
Always check manufacturer instructions for your specific product, as variations exist based on wood type and room conditions.If you’re in North Florida and would rather leave the job to experts, Legacy Interior Services installs wood flooring throughout the region, ensuring high-quality results tailored to local climates and homes.
Materials and Tools NeededBefore starting, gather these essentials:
- Wood flooring planks (calculate square footage plus 10-15% extra for cuts and waste).
- Underlayment (e.g., rosin paper or foam for floating floors).
- Nails, staples, or adhesive (depending on method).
- Expansion spacers (1/4-1/2 inch for gaps around walls).
- Tools: Hammer or pneumatic nailer, miter saw, tape measure, chalk line, pry bar, drill, and safety gear like gloves and knee pads.
Step 1: Prepare the Space and Acclimate the WoodAcclimation is key—bring the flooring into the installation room for 3-7 days to adjust to the humidity and temperature (ideally 60-80°F and 35-55% humidity) to minimize expansion or contraction post-installation.
Remove furniture, baseboards, and old flooring. Inspect the subfloor: It must be clean, dry, level (no more than 3/16-inch variation over 10 feet), and structurally sound. For wood subfloors, ensure joists are secure; for concrete, use a moisture barrier.
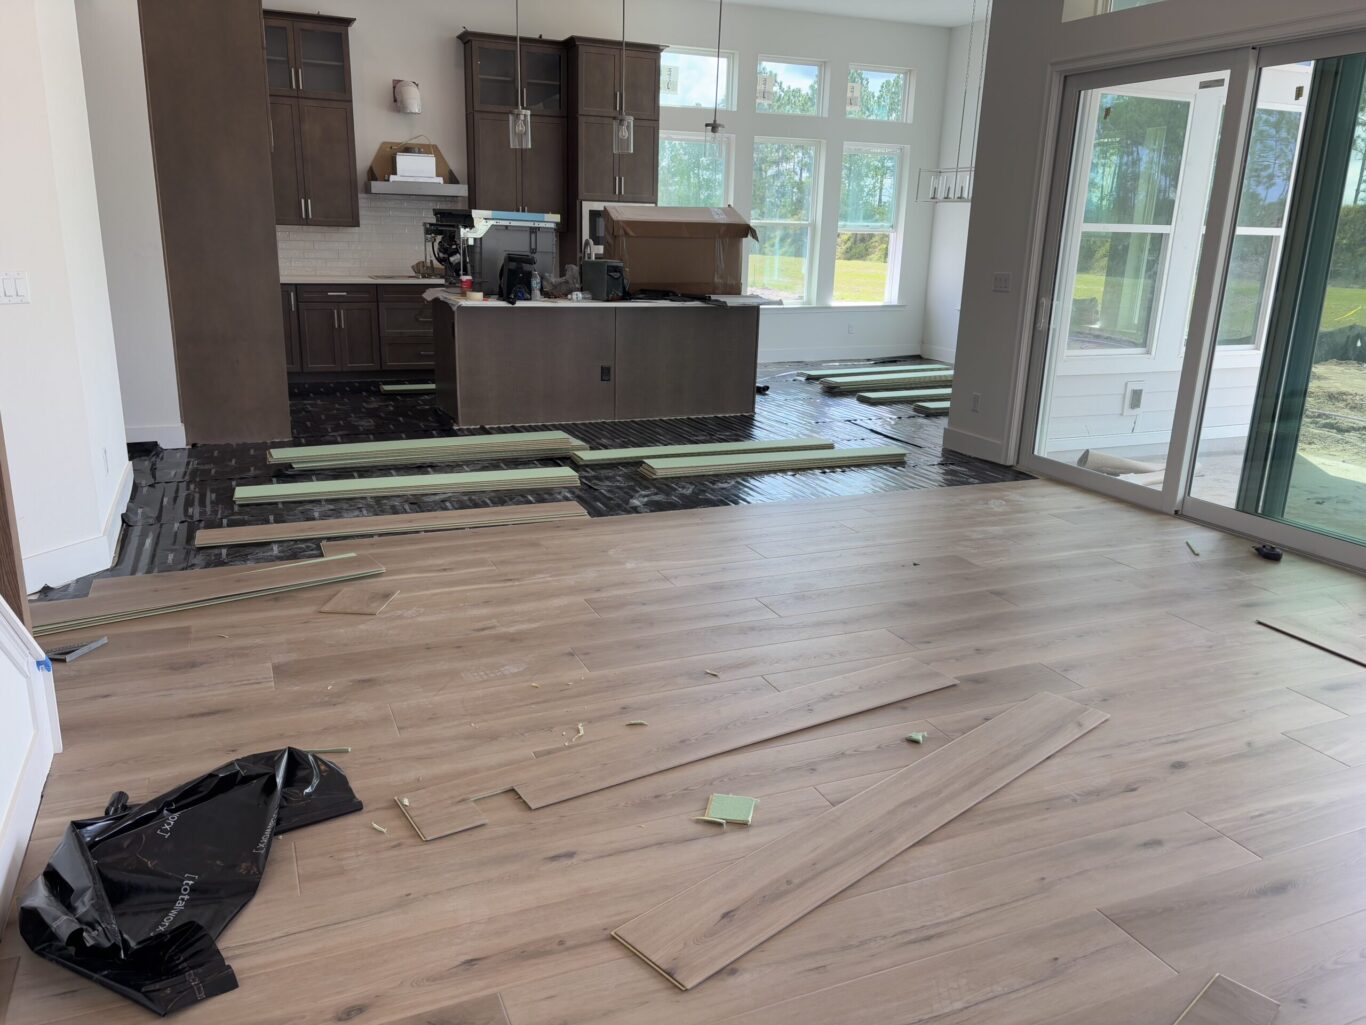
Sand high spots and fill low areas.Step 2: Plan the LayoutMeasure the room and snap a chalk line parallel to the longest wall, starting 1/2 inch from the wall for expansion. “Rack” the planks—lay out several rows dry to mix colors and patterns for a natural look, avoiding H-joints (where ends align).
If the room is irregular, center the layout for balance.Step 3: Install the First RowsFor nail-down: Place the first board groove-side toward the wall, tongue facing out. Drill pilot holes and face-nail every 8-10 inches, then blind-nail through the tongue at a 45-degree angle.
Use spacers along the walls.For glue-down: Spread adhesive with a trowel and press planks into place.For floating (click-lock): Connect planks end-to-end and side-to-side without fasteners, over underlayment.
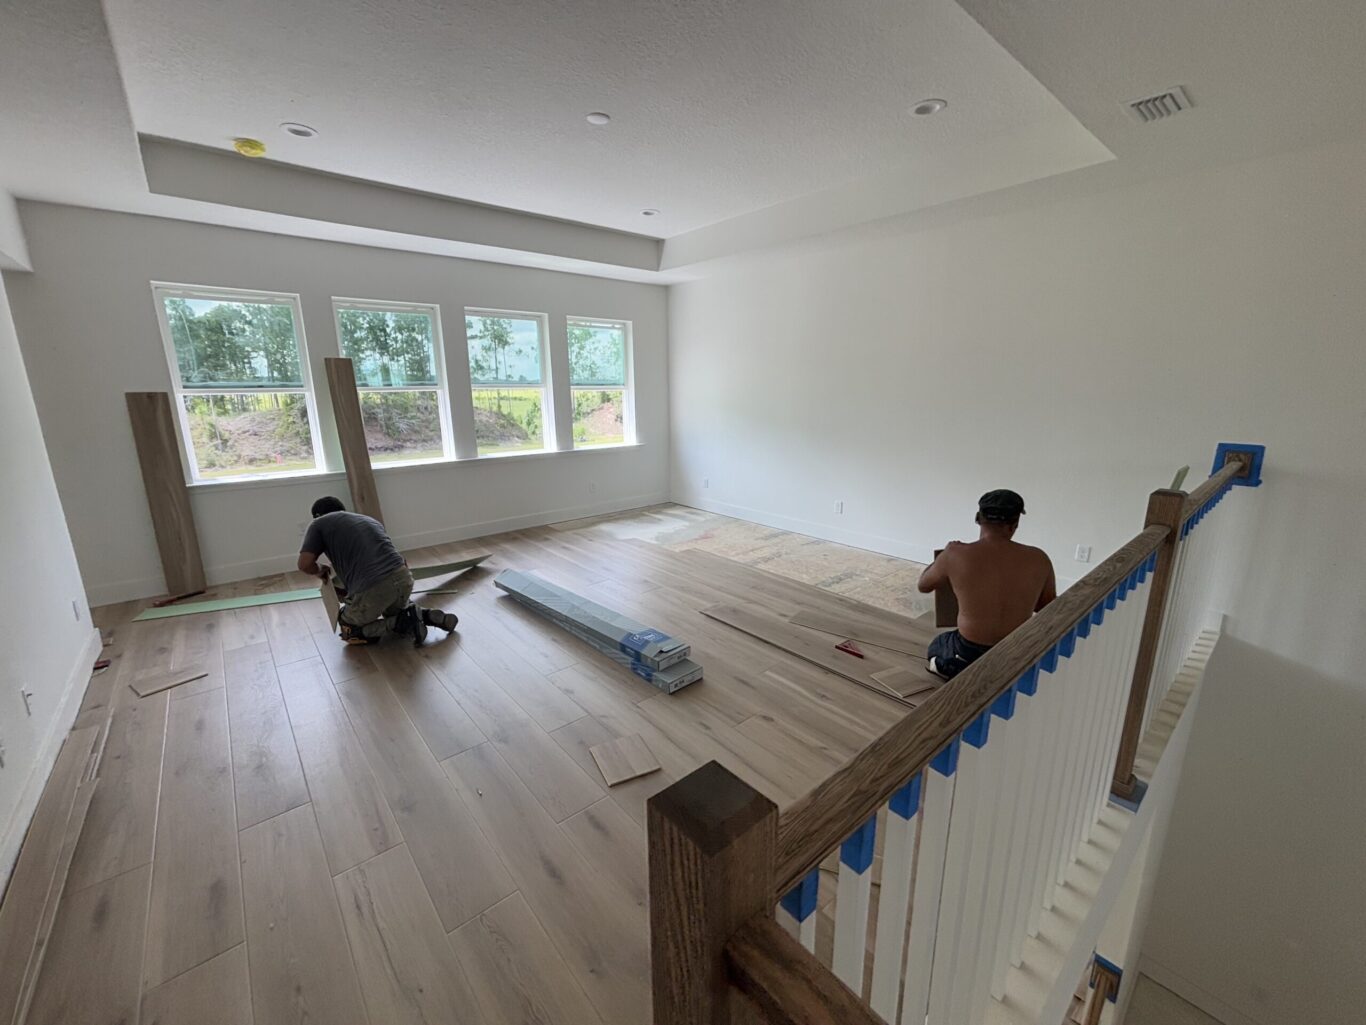
Continue rows, staggering end joints by at least 6 inches. Use a tapping block to snug fits without damage.Step 4: Continue Installation and Make CutsWork row by row, nailing every 6-8 inches. For the last rows, rip planks to fit (measure minus expansion gap) and face-nail if needed. Around doors or obstacles, use a jigsaw for precise cuts.
Step 5: Finishing TouchesRemove spacers and reinstall baseboards or add quarter-round molding to cover gaps. Sand lightly if necessary, then apply finish or sealant per manufacturer guidelines. Avoid heavy traffic for 24-48 hours.
Maintenance Tips for LongevitySweep or vacuum regularly, use felt pads on furniture, and maintain consistent humidity. Clean with manufacturer-approved products to preserve the wood’s integrity.Proper installation not only enhances aesthetics but also extends the floor’s life. For residents in North Florida seeking seamless professional service, contact Legacy Interior Services—they handle wood flooring installations across the area with expertise in local conditions like humidity fluctuations.